
 SEARCH

 English
 Español
 Português

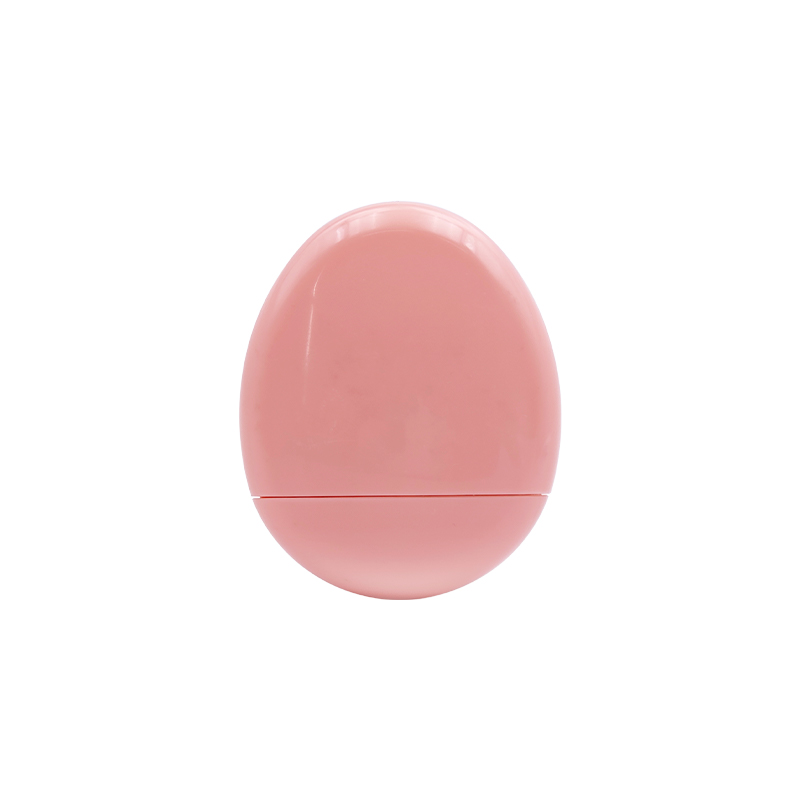
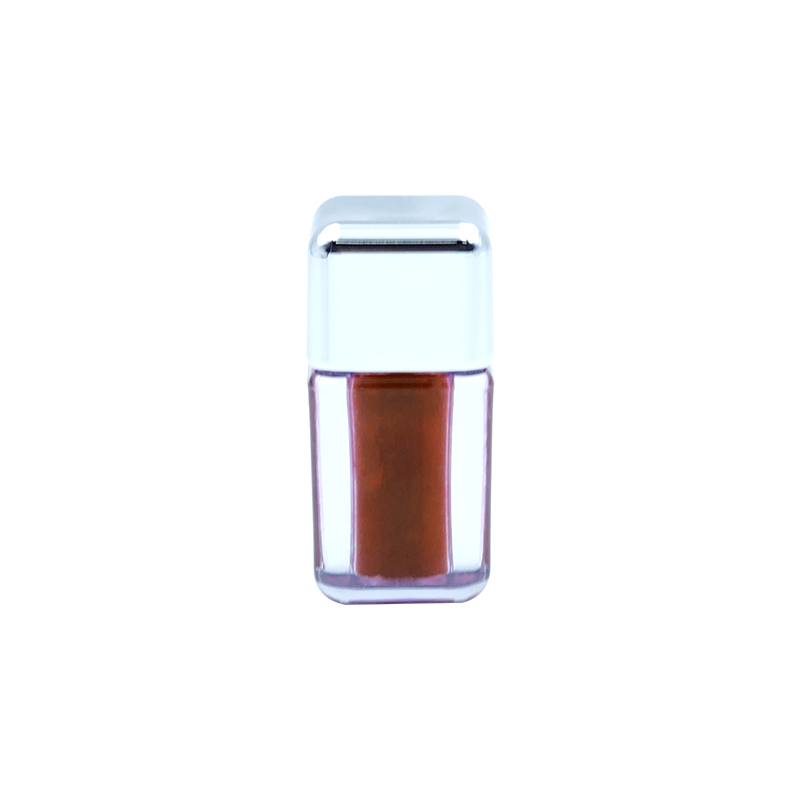
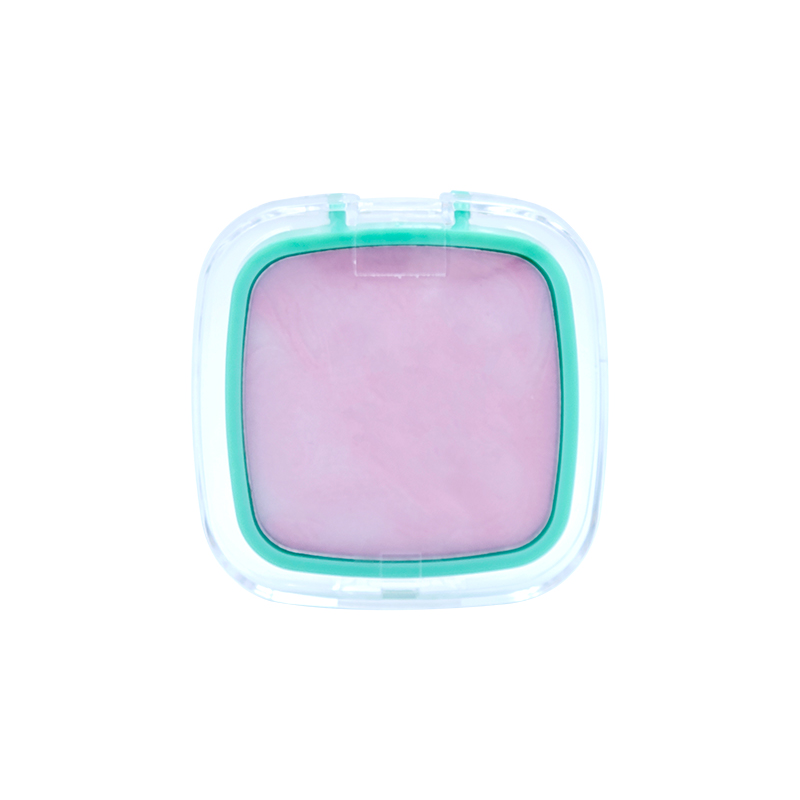
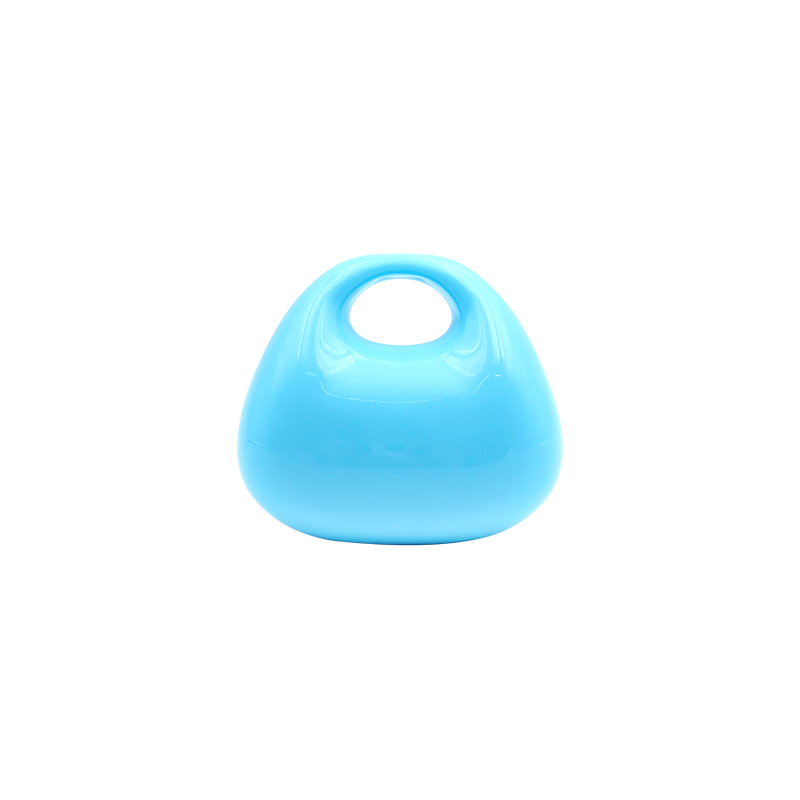
EGG-SHAPED BLUSH CREAM
TEXTURE OF CREAM MOUSSE THE PASTE IS SMOOTH AND HASGOOD COLOR VISIBILITY. Mo...
A soft blush finish often depends less on the amount of color and more on how the product meets the skin. Pink Fluid Sheer Blush has a light appearance, so uneven placement can become noticeable around the edges or across areas with different skin texture. A small patch may look stronger than expected when the surrounding color remains very faint.
Skin condition also changes the way a fluid blush moves. Dry areas may hold onto color quickly, while an oily surface can allow the product to shift before it settles. Makeup already sitting on the skin can create another layer of variation, especially when the base has not fully settled.
Application pressure matters as well. Pressing gently allows color to spread without disturbing the complexion underneath. Repeated rubbing can move both blush and base, leaving an uneven area that needs additional correction.
A simple approach is to treat the blush as a thin layer rather than a spot of strong color. Place a small amount where color is wanted, then work outward gradually. Soft transitions are easier to create when there is enough room around the original placement.
Skin preparation creates the surface on which fluid blush needs to move. A clean face with a comfortable level of moisture usually gives the product a more predictable path. Heavy residue from skincare can make the surface feel slippery, while areas lacking moisture may catch the blush too quickly.
Preparation does not need to involve many layers. A simple routine can help keep the surface even:
The condition of the cheek area deserves particular attention because Pink Fluid Sheer Blush is often placed where natural skin texture remains visible. Flaking or rough patches can interrupt the flow of color, making one section appear deeper than another.
A smooth surface also makes correction easier. When the complexion underneath stays relatively stable, tapping a blush into place does not create as much movement across nearby makeup.
Using a small starting amount gives more freedom during blending. Fluid blush can spread farther than expected once pressure is applied, so placing a large amount directly on the cheek may create a concentrated area that takes longer to soften.
A useful method is to begin near the intended center of color, then extend the product toward the surrounding skin. Rather than adding more immediately, pause and check how much color has already transferred.
| Application Choice | Likely Result | Practical Adjustment |
|---|---|---|
| Small initial amount | Light and easier to spread | Add another thin layer when needed |
| Heavy central placement | Stronger color in one area | Blend outward with gentle tapping |
| Wide initial placement | Color may reach unwanted areas | Keep the starting area compact |
| Several light layers | Gradual color development | Allow each layer to settle before adding more |
Layering also changes the way color behaves. A thin application can be adjusted without moving much of the base, whereas repeated heavy applications may create a noticeable build-up.
For a sheer finish, adding color slowly tends to provide more control than trying to achieve the desired depth in one application. The approach also makes it easier to keep both sides of the face visually balanced.
Fingertips, makeup sponges, and soft brushes can all distribute fluid blush, although each method creates a different type of movement.
Fingertips provide direct control over pressure and placement. Gentle tapping can warm and spread the product across a small area without requiring much movement. Clean hands are important because skin oils can change the surface of the makeup.
A sponge can soften concentrated areas through light pressing. It works well when the color needs to look diffused rather than sharply placed. Excessive bouncing, however, may gradually disturb the complexion underneath.
A soft brush can move color across a wider area with less direct contact. Short, light strokes can help when a larger transition is needed. Heavy brushing may spread the color too far, especially when the blush has a fluid texture.
The choice of tool should therefore follow the condition of the makeup rather than a fixed rule. A concentrated spot may respond well to gentle pressing, while a broad area may need a lighter outward movement.
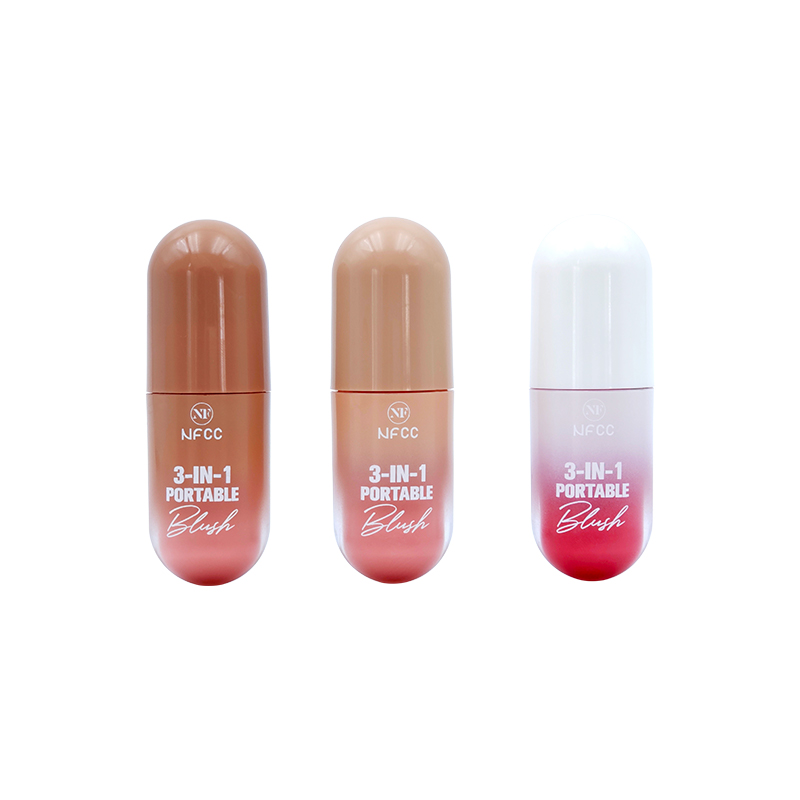
Placement creates the starting point for the final shape. Putting color close to the center of the cheek area gives more space for softening the outer edge. Starting too far outward can make the blush appear wider than intended, while placing too close to the lower edge of the face can make the transition harder to control.
A practical sequence is simple:
Facial shape also affects the visual result. Some people prefer color closer to the center of the cheeks, while others may want a slightly higher placement. Rather than following a fixed placement rule, the useful point is to leave enough space for the color to fade naturally.
Pink Fluid Sheer Blush can appear different depending on the complexion beneath it, so checking the color after the first blending pass is useful. Adding another thin layer is generally easier than correcting a broad area that has already received too much product.
Blending motion can change the final texture as much as the tool itself. Tapping keeps movement controlled and works well for building a soft patch of color. Pressing can help merge the blush with the surrounding complexion, particularly when a concentrated area needs to be softened.
Dragging creates wider movement and may be useful when color needs to travel across a larger section. Too much dragging can remove or shift the base underneath, especially around areas where makeup has already settled.
Repeated rubbing is another common source of unevenness. Once the color has become fairly even, continuing to work the same area may break apart the underlying layer. A better approach is to reduce pressure as the edge becomes softer, then stop when the transition looks natural.
For Blush Liquid Blusher, the final blending stage often needs less movement than the initial stage. Color can look uneven while it is being placed, then settle into a softer appearance after a few controlled touches. Knowing when to stop is part of maintaining a clean finish.
Blush does not sit on bare skin in every makeup routine, so the layers underneath can change how color spreads. A fluid blush placed over a settled complexion base usually behaves differently from one applied over a surface that still feels wet or slippery.
Foundation can provide an even surface, although too much movement during blush application may disturb it. A light tapping motion helps keep the underlying layer in place. Pressing the blush into the cheek rather than dragging it across the surface can reduce visible marks.
Powder creates another situation. A fluid product applied over a heavily powdered area may lose some of its smooth movement and can gather in small patches. When a powder layer is already present, using a smaller amount of blush and working gently can help avoid a rough appearance.
Layer order also affects correction. Applying fluid blush before powder generally allows the color to merge with the complexion more naturally. When blush needs to be placed over a set surface, the application should be lighter and more controlled.
A useful way to think about the process is to keep each layer stable before adding another. Too much movement between layers can make the cheek appear uneven, even when the blush itself has been applied carefully.
Patchiness does not always come from the blush formula. Application habits, skin condition, and the makeup underneath can all contribute to an irregular finish.
Several small mistakes appear repeatedly:
Using too much product can make correction difficult because the color needs to travel farther before the edge becomes soft. A smaller starting amount leaves more room for adjustment.
Another issue comes from trying to make both cheeks identical through repeated blending. Facial structure is naturally different from one side to the other, so excessive correction can create more visible texture. Comparing the general color and placement is usually more useful than trying to make every detail identical.
A concentrated area does not always require removing the entire complexion. Gentle correction can reduce the visible difference while keeping the surrounding makeup intact.
A clean fingertip or sponge can press lightly over an area that looks too strong. The aim is to redistribute some color rather than erase it. Working from the stronger section toward the softer area can create a gradual transition.
When the color remains too noticeable, a small amount of complexion product can help soften it. The correction should be thin, since adding a heavy layer may create another texture problem.
Another option is to use the remaining product on the tool to soften the edge. A sponge or brush with very little fresh product can move around the outer area without adding much additional color.
Knowing when to stop is important. Continuous blending may seem helpful, yet repeated contact can disturb the base and leave a larger uneven section. Once the transition looks soft enough, leaving the area alone can produce a cleaner result than making further adjustments.
Skin does not behave in exactly the same way every day. Dryness, oiliness, and uneven texture can change how a fluid blush moves across the cheek.
Dry skin may absorb or hold onto color quickly in certain areas. When that happens, tapping gently can help spread the product before it becomes concentrated. A comfortable moisturizing step beforehand may also create a more even surface.
Oily skin can allow makeup to move more easily. A blush may appear softer at the beginning and then shift during later makeup application. Using a smaller amount and avoiding unnecessary rubbing can help keep placement stable.
Combination skin may require different handling across the face. One cheek area may feel smooth while another section has more oil or dryness. Applying the same pressure everywhere can therefore produce different results.
Visible texture can also affect the appearance of sheer color. Blush does not hide every change in the skin surface, and a fluid texture may make some areas more noticeable when too much product collects there. Gentle application with limited pressure helps maintain a lighter appearance.
A quick check after blending can reveal issues that are difficult to notice while applying makeup. Looking at the cheek from different angles can show whether color fades naturally or stops suddenly at a visible edge.
Lighting also changes the appearance of blush. A color that seems balanced under soft indoor light may appear stronger near a window or under brighter lighting. Checking the overall transition rather than focusing on one small area gives a more realistic impression.
Three points are worth checking:
Comparing both sides of the face can help with placement. Perfect symmetry is not necessary, and trying to correct every small difference may lead to unnecessary product buildup.
Color should also be checked after the rest of the makeup is in place. Lip and eye makeup can change the visual balance of the face, making blush appear softer or stronger than it seemed during the initial application.
Consistent results usually come from controlling several small steps rather than relying on one special technique. Product amount, placement, pressure, and timing all influence how Pink Fluid Sheer Blush settles.
Starting with less product provides space for adjustment. Keeping the initial placement relatively compact makes the outer transition easier to manage. Gentle tapping can then spread color without creating unnecessary movement underneath.
Tool cleanliness also matters. Residue from previous makeup can change how a sponge or brush transfers a fluid product. Clean tools provide more predictable movement and make it easier to judge how much color has actually been applied.
Another useful habit is pausing between layers. A quick visual check can show whether additional color is needed before more product is added. Many uneven results begin with an assumption that more color is necessary, even when the existing layer only needs a little time and blending.
For Blush Liquid Blusher, a calm application rhythm can therefore make the process easier to control. Small adjustments are generally simpler than large corrections, especially around the outer edge of the cheek.
A natural finish comes from allowing the color to remain light enough for the underlying complexion to show through. Careful placement, moderate pressure, suitable preparation, and limited correction can work together without making the makeup process complicated.

A cheek color can change the way facial proportions are perceived without altering the actual shape of the face. When th...
Everyday eye makeup does not always need strong color or a clearly defined shape. For work, casual outings, or simple so...
Color combination practice is not simply about placing several shades together. It involves observing how colors change ...
Foundation creates a base for color makeup, so its surface condition can change how blush spreads and settles. A smooth ...
Blush color selection has become more varied as makeup habits move between soft daily looks, warm tones, muted shades, a...
Pink can look surprisingly different from one face to another. A soft pink may appear fresh and light on fair skin, whil...


 No.333 Caihong Road,Linjiang Industry, Bailongqiao Town,Jinhua City, Zhejiang Province, China
 +86 13750973917+86 18248557685
 [email protected]
Copyright ©Zhejiang NiFei Cosmetic Co., Ltd. Rights Reserved.